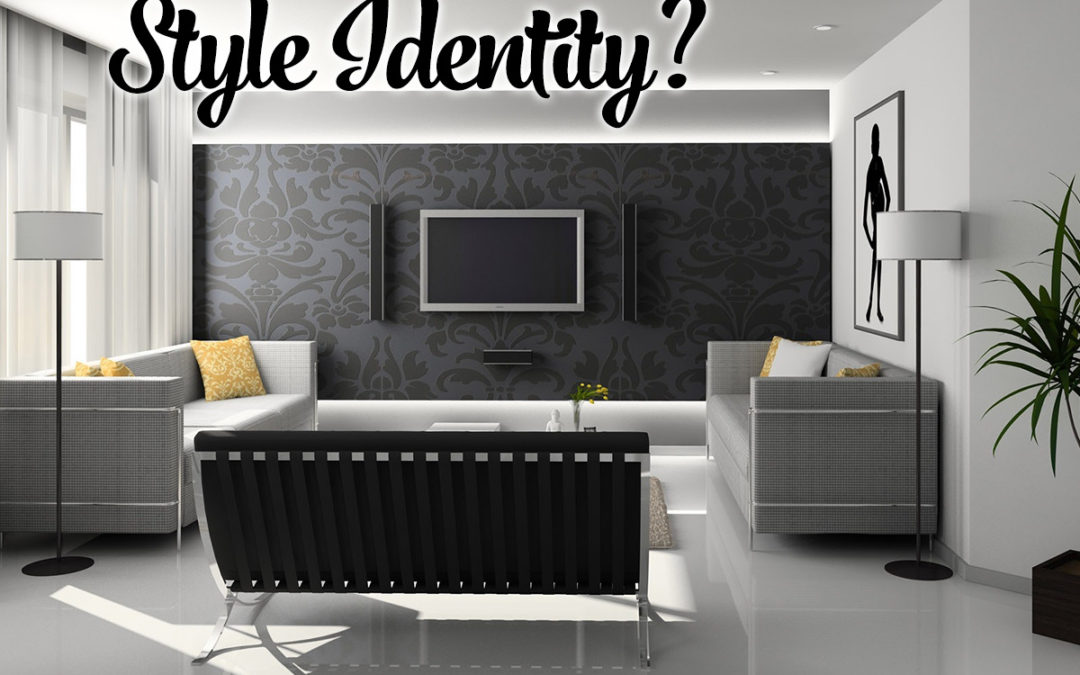
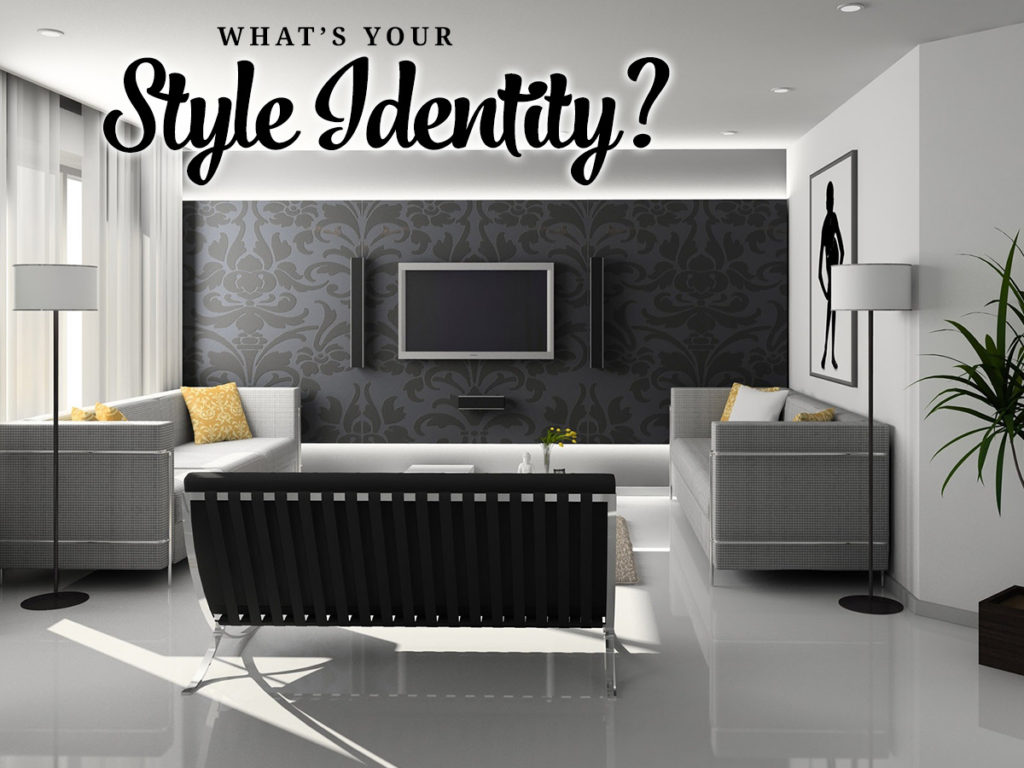
What’s Your Style Identity?
What’s Your Style Identity?
 Your design preferences make up your own personal style identity!
We all have a style identity when it comes to interior design. You know what you like, but you might not know the name or the specific characteristics of that style. Have fun answering a few questions to find out what your style is.

What is my style identity?
- Does your house look like an English garden or a beach house?
- Do you love the casual look as opposed to straight lines?
- Do you enjoy natural light to indoor lighting?
- Would you rather be outdoors or at the beach instead of stuck inside?

Your style is Shabby Chic / Coastal
Characteristics: Casual furniture in natural materials such as wicker and rattan and worn looking white-washed woods. Stripes and florals dominate fabric patterns.
Color palette: Layered blues, crisp whites, rosy reds and greens.

-
What is my style identity?
- Does city-living appeal to you?
- Do you like the linear look of urban architecture?
- Do you have suspended lamps with Edison bulbs in your home?
- Do you like bare building materials seen in old factories and converted lofts?

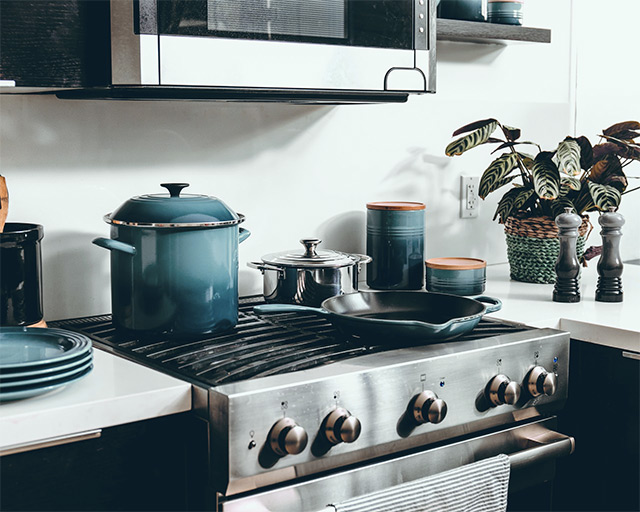
Your style is Industrial
Characteristics: Spacious, simple design that includes wood and metal elements. Exposed pipes, ducts and brick walls are often seen. High ceilings are common.
Color palette: Neutral palette – gray, brown, grayish-white, tan.

What is my style identity?
-
Do you read about art and know furniture designers’ names?
-
Are you a fan of low sleek furniture with style and comfort?
-
Did you have a serious addiction to Mad Men?
-
Would you describe yourself as simple and uncomplicated?

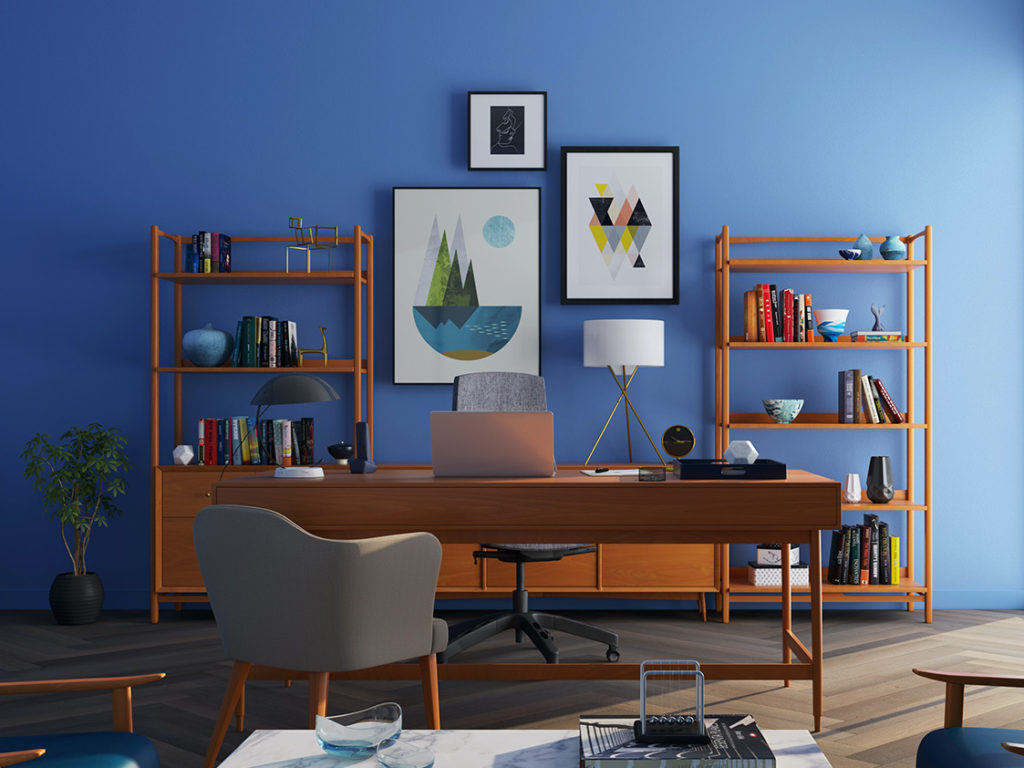
Your style is Mid-Century Modern
Characteristics: Clean, often curved lines mixed with simple geometric shapes. There usually is a variety of materials (woods, metals, plastics) used in this design.
Color palette: Background earthy neutrals (browns & grays) paired with bright, bold colors such as oranges, chartreuse, pink and blues.

What is my style identity?
-
Do you prefer simple design with clean lines and geometric patterns?
-
Do you believe ‘less is more’?
-
Would you describe yourself as organized, methodical and efficient?
-
Is your home free of clutter?

Your style is Minimalism
Characteristics: This is a bare essential look. Simple, uncluttered, clean lines typically in an open floor plan. Functional furniture with flat, smooth surfaces and strong lines.
Color palette: Monochromatic – a variation of one color, usually whites, beiges and greys.
")
What is my style identity?
-
Do you appreciate history and tradition?
-
Does your home have a “timeless” look?
-
Are you a planner who rarely acts on impulse?
-
Do you prefer stately color palettes and elegant furnishings?

Your style is Traditional
Characteristics: Curved, heavy, dark wood furniture is the norm, paired with stuffed patterned fabrics, hardwood floors, and classical art.
Color palette: Deep, rich jewel-tone hues in reds, blues and greens.

What is my style identity?
-
Are you trendy, yet classic and chic?
-
Do you love to shop at the flea market for well-loved décor items?
-
Do you have more seating than you need because you love to entertain?
-
Is your home known for its warmth and simplicity?

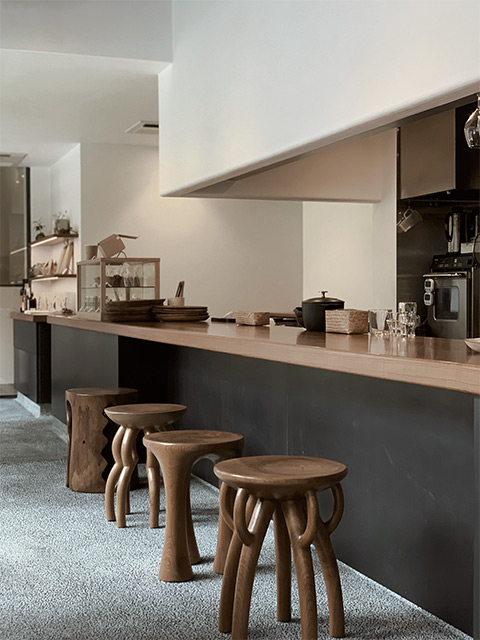
Your style is Modern Farmhouse
Characteristics: A comfortable mix of old and new with heirloom hand-me-downs. Texture abounds with organic and natural materials.
Color palette: Dominated by natural colors such as soft whites, stormy grays, greiges, browns with accents of purple and blues.

What is my style identity?
-
Is The Great Gatsby your favorite book or movie?
-
Do you love rich metallics and sumptuous fabrics?
-
Is your home filled with stylized geometric patterns?
-
Do your friends describe you as glamorous?

Your style is Art Deco / Hollywood Glam
Characteristics: Bold and opulent, yet elegant and functional. Angular, geometric forms are common, and fabrics have exotic patterns or high-shine finishes. Deeply colored polished wood, often with a lacquer finish, is frequently paired with metallic accents.
Color palette: Accents of deep yellows, reds, greens, blues and pinks, offset by softer colors of creams and beiges.
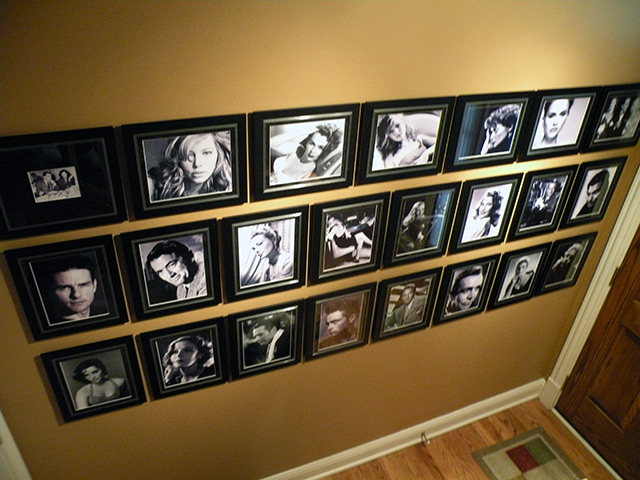
 Additional Topics
Still not sure what kind of frame you want? Let us help! Our designers know how to match your art to the perfect frame for your style.
Want more fun? Take this Style Identity Quiz!
https://www.tryinteract.com/quiz/what-s-your-decor-personality/
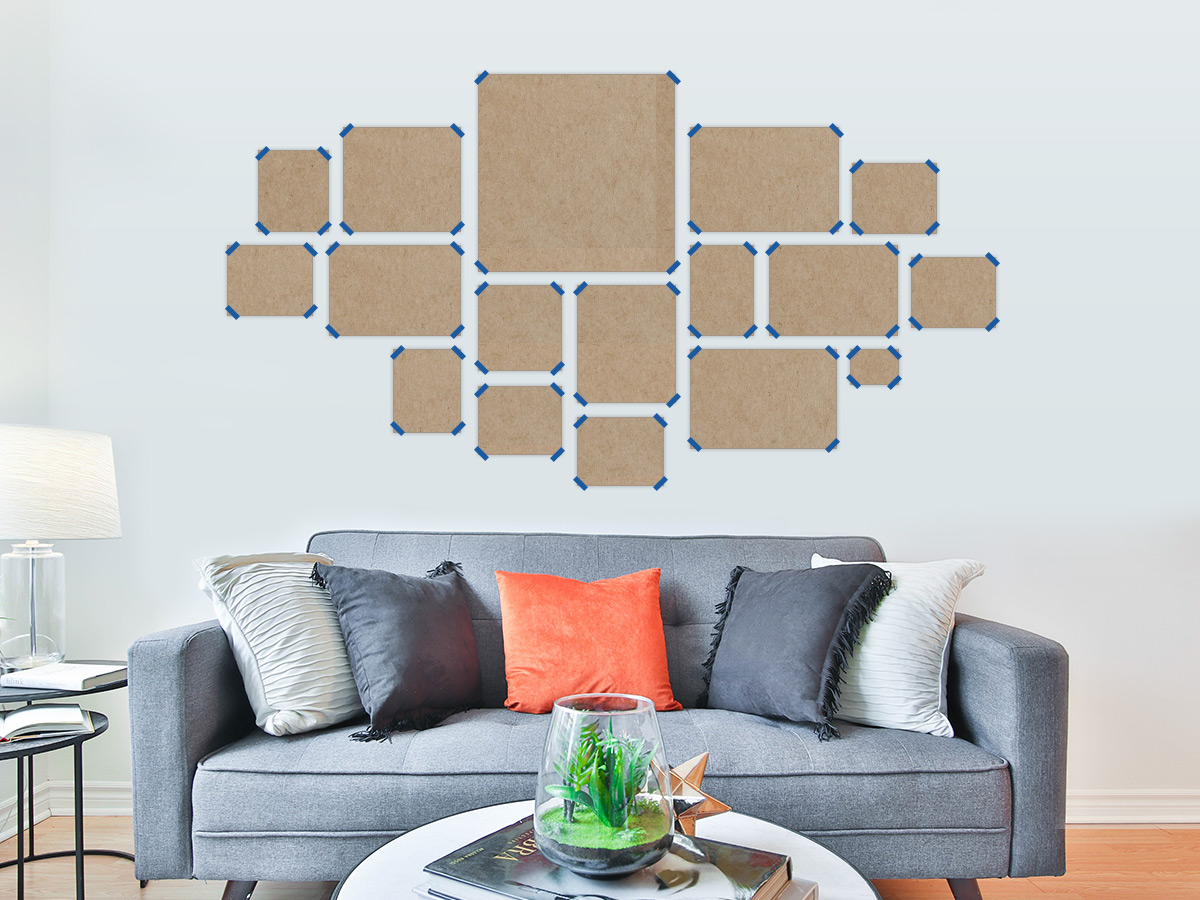
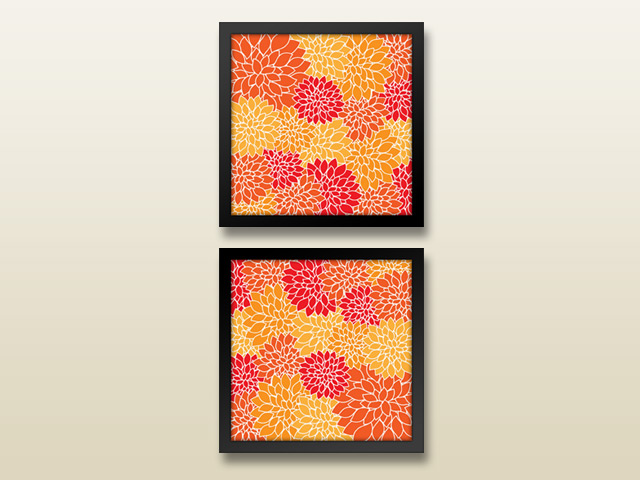
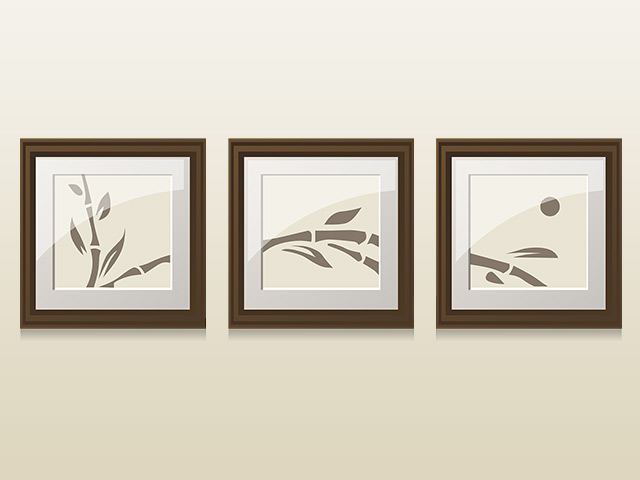
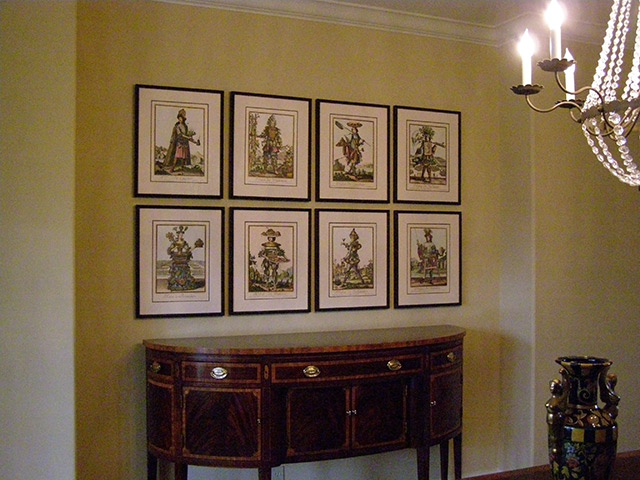
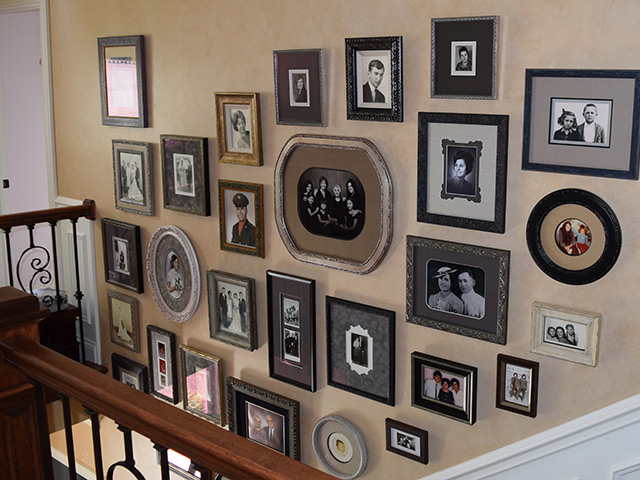
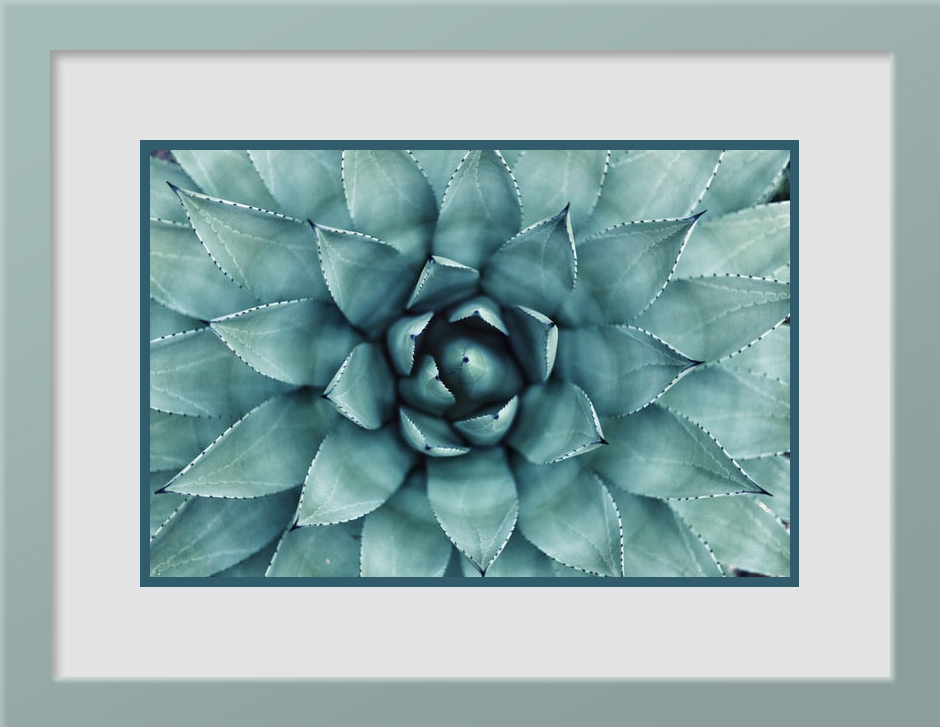
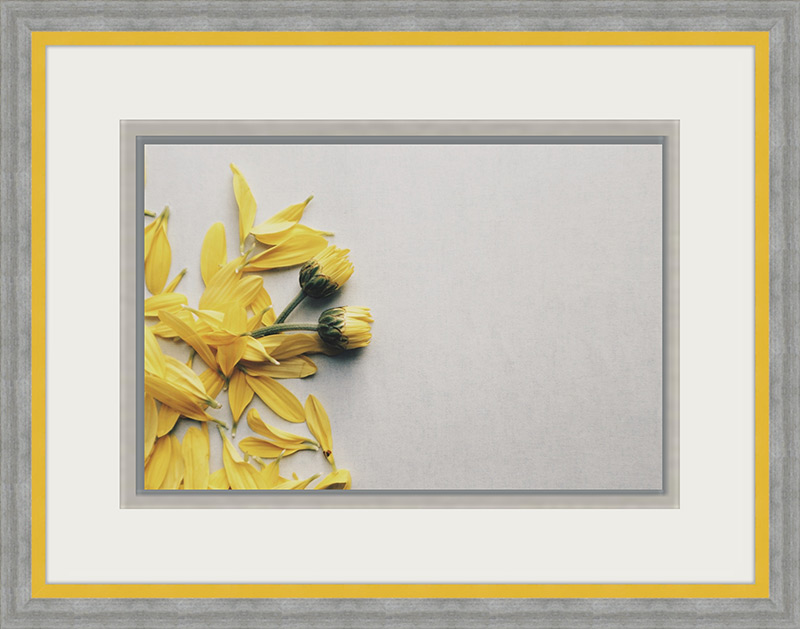
*Frames shown are an example of what may be available…


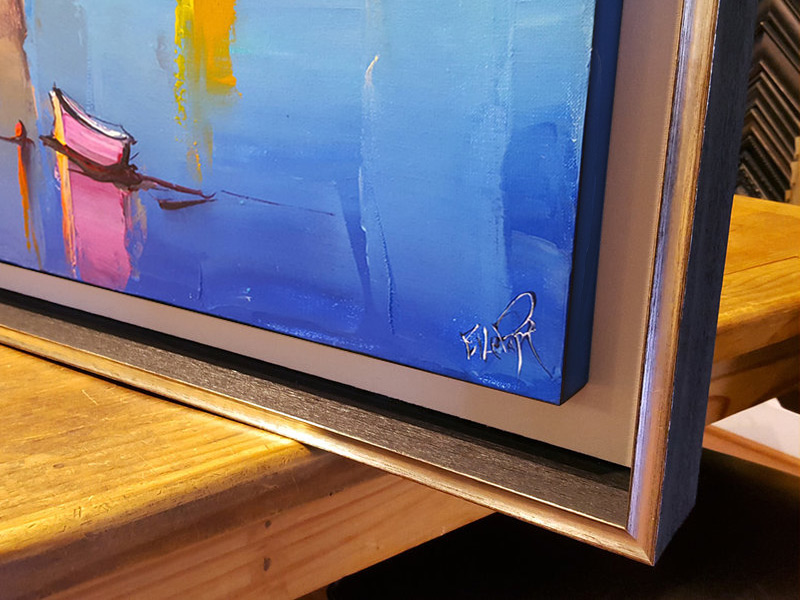
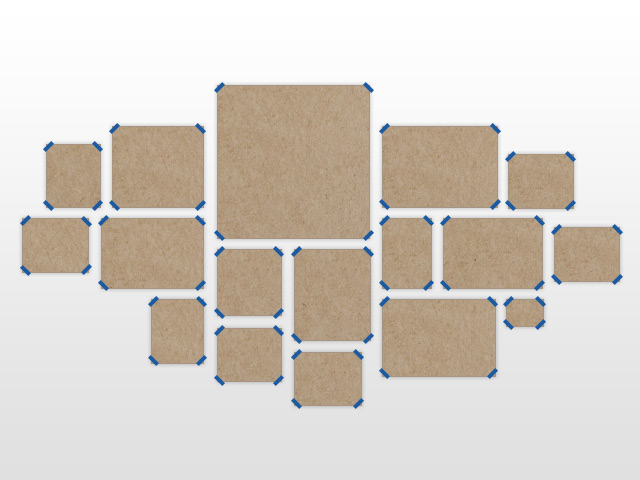
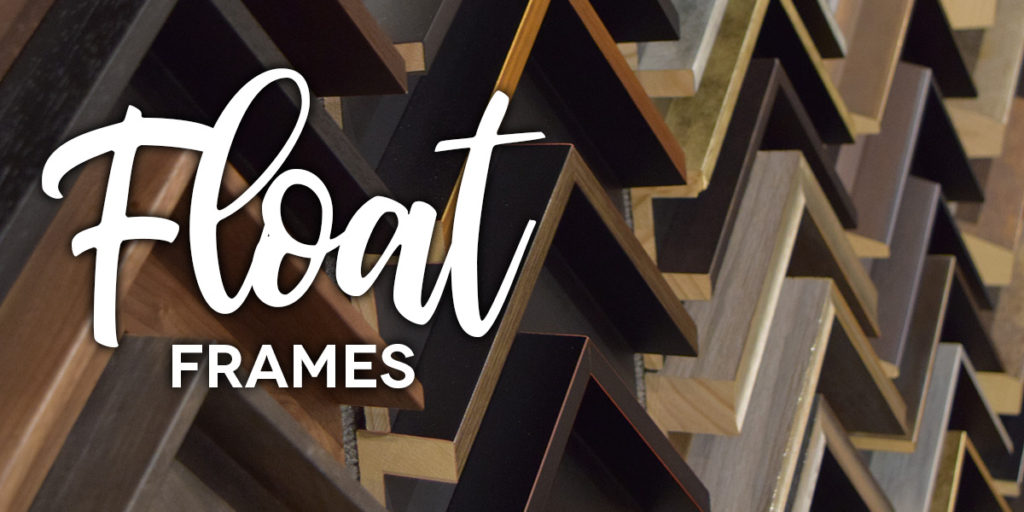 Float Frames: A versatile frame moulding for stretched canvas


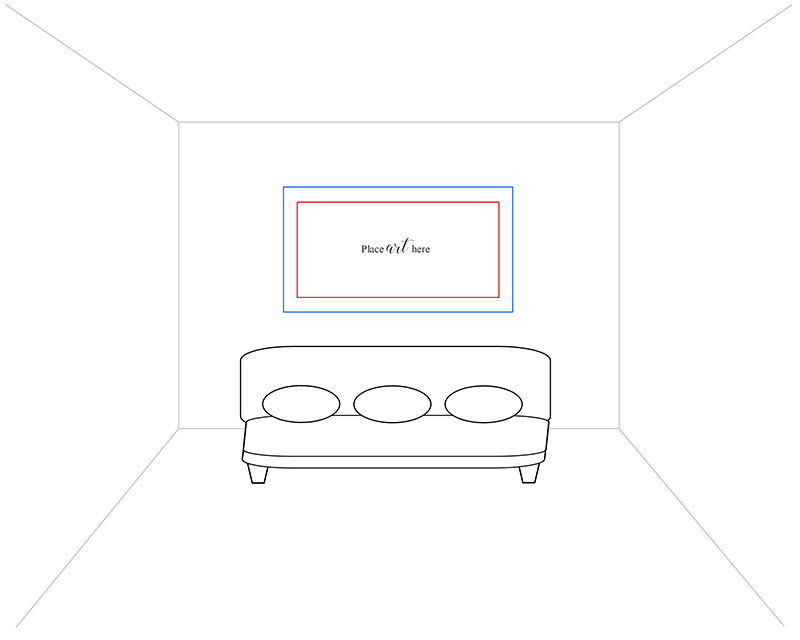
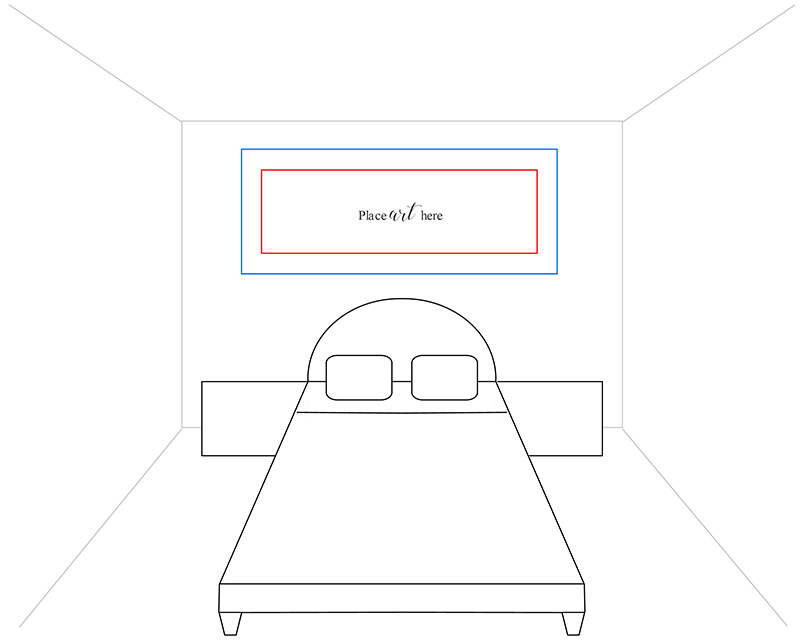
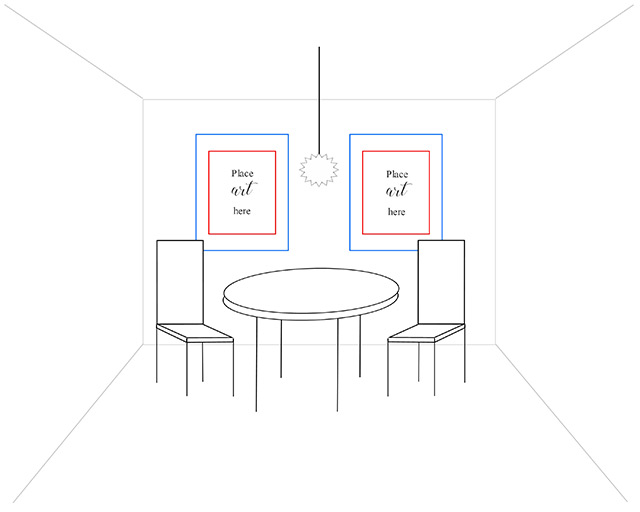
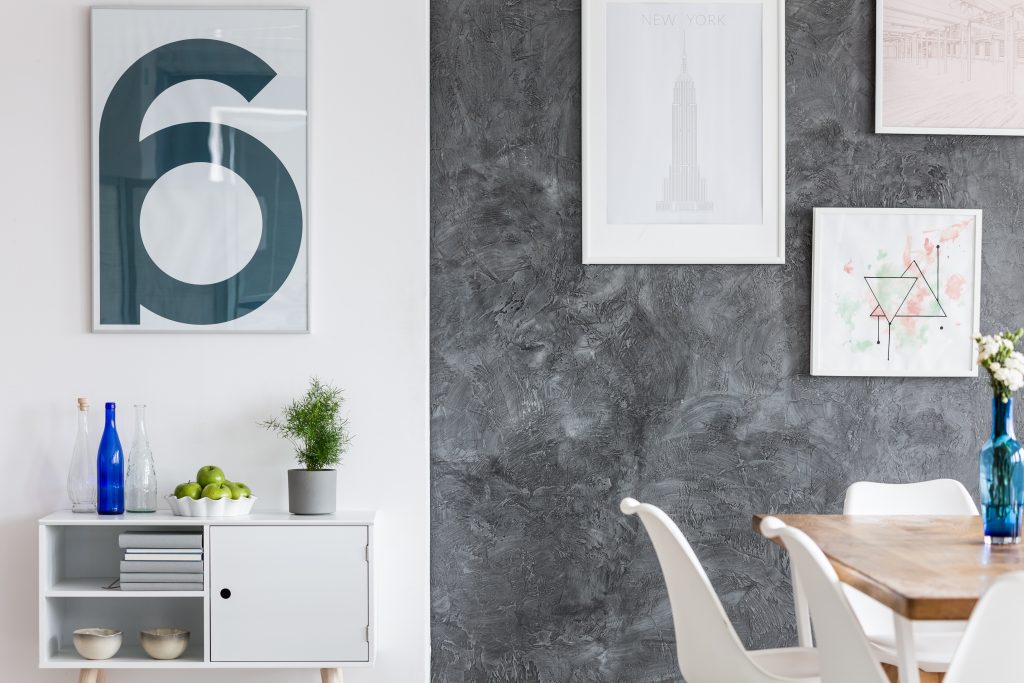 When you frame artwork, you want to make sure the art is the right size for your space. You don’t want your artwork to overwhelm the room, but you also don’t want it to be so tiny it gets lost. Follow our guide to choose the best sizing for your room.